How to Make Pan Gravy from Drippings (Plus a Vegetarian Version)
A spoonful of good gravy ties together a holiday plate of turkey, mashed potatoes and stuffing. Homemade gravy is simpler than it looks: it is just fat and flour cooked together into a roux, thinned with stock and the flavorful juices left in a roasting pan. It takes about fifteen minutes while the roast rests.
This guide explains each step, gives the ratios to scale it up or down, shows how to rescue lumpy or thin gravy, and includes a vegetarian version made with browned mushrooms and vegetable stock for guests who do not eat meat.
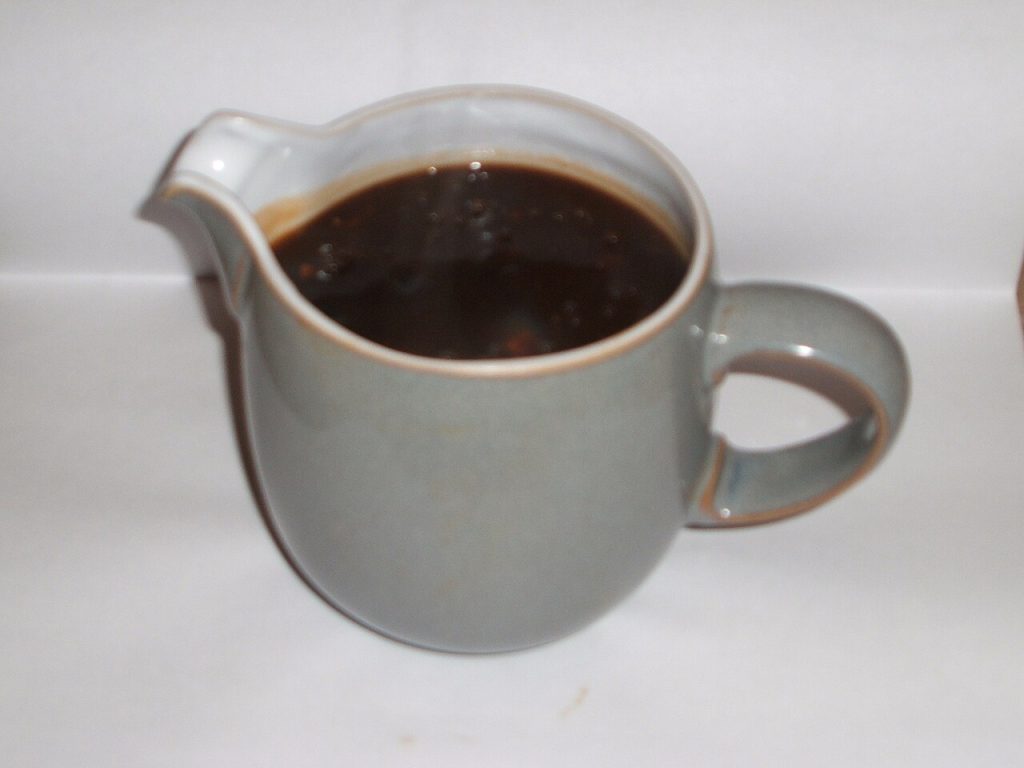
What you need
- Pan drippings from a roast turkey, chicken or beef
- Fat: the fat skimmed from the drippings, or butter
- All-purpose flour
- Warm stock, about 2 cups for every 3 tablespoons of flour
- Salt, pepper and a sprig of thyme or sage (optional)
- A whisk, a saucepan or the roasting pan, and a fine sieve
The basic ratio is easy to remember: equal amounts of fat and flour, and roughly a cup of liquid for every 1 1/2 tablespoons of each. Three tablespoons of fat, three tablespoons of flour and two cups of liquid make about two cups of medium-thick gravy, enough for four to six people.
Step 1: Separate the drippings
Once the roast comes out of the oven, pour the juices from the pan into a heatproof measuring cup or a fat separator. Let them stand for five minutes; the fat will rise to the top. Spoon off the fat into a small bowl and save it. The darker juices underneath are full of flavor and will become part of your liquid.
Do not wash the roasting pan. The browned bits stuck to the bottom, called fond, are concentrated flavor.
Step 2: Make the roux
Set the roasting pan over medium heat across two burners, or use a saucepan. Add three tablespoons of the reserved fat, topping it up with butter if you do not have enough. Sprinkle in three tablespoons of flour and whisk constantly for two to three minutes, until the mixture smells toasty and turns light golden brown. Cooking the flour removes its raw taste.
Step 3: Add the liquid gradually
Combine the defatted pan juices with enough warm stock to make two cups. Pour about a third of it into the roux while whisking hard; it will seize into a thick paste. Keep whisking and add the rest in two or three more additions, scraping up the browned bits from the pan. Adding warm liquid gradually is the key to avoiding lumps.
Bring the gravy to a simmer and cook for five to ten minutes, whisking now and then, until it thickens enough to coat the back of a spoon. Add a sprig of thyme or sage while it simmers if you like.
Step 4: Season and strain
Taste the gravy before adding salt; drippings and store-bought stock can both be salty. Add black pepper and salt as needed. If you want a perfectly smooth gravy, pour it through a fine sieve into a warm gravy boat. A small splash of lemon juice or vinegar can brighten a gravy that tastes heavy.
Fixing common problems
- Lumpy: whisk vigorously, or strain or blend it briefly with an immersion blender.
- Too thin: simmer it longer, or whisk 1 teaspoon cornstarch into 1 tablespoon cold water and stir it in, then simmer for a minute.
- Too thick: whisk in more warm stock a little at a time.
- Too pale: a few drops of soy sauce or a spoonful of browned onion adds color and depth.
- Greasy: let it settle off the heat and skim the fat from the surface.
Vegetarian mushroom gravy
Melt 3 tablespoons butter or olive oil in a skillet and brown 8 ounces of finely chopped mushrooms with a small minced shallot for about eight minutes. Sprinkle in 3 tablespoons flour, cook for two minutes, then gradually whisk in 2 cups warm vegetable stock and 1 tablespoon soy sauce. Simmer with a sprig of thyme until thickened. Leave the mushrooms in for a rustic gravy, or blend and strain for a smooth one.
Gravy can be made up to three days ahead using stock and butter, then refrigerated and reheated with the fresh pan drippings whisked in at the last minute. That takes one task off the list on a busy holiday.
This guide is general kitchen information, not food-safety certification or medical advice. See our Disclaimer and Image Credits.