
Glass vs. Plastic Food Storage Containers for Meal Prep
Good containers make meal prep work. They keep food fresh, stack neatly in the fridge, and make it easy to grab lunch on the way out the door. Most people end up choosing between glass and plastic, with stainless steel and silicone as other options. This guide covers how each material performs, what to know about heating and safety, and how to build a small, practical set.
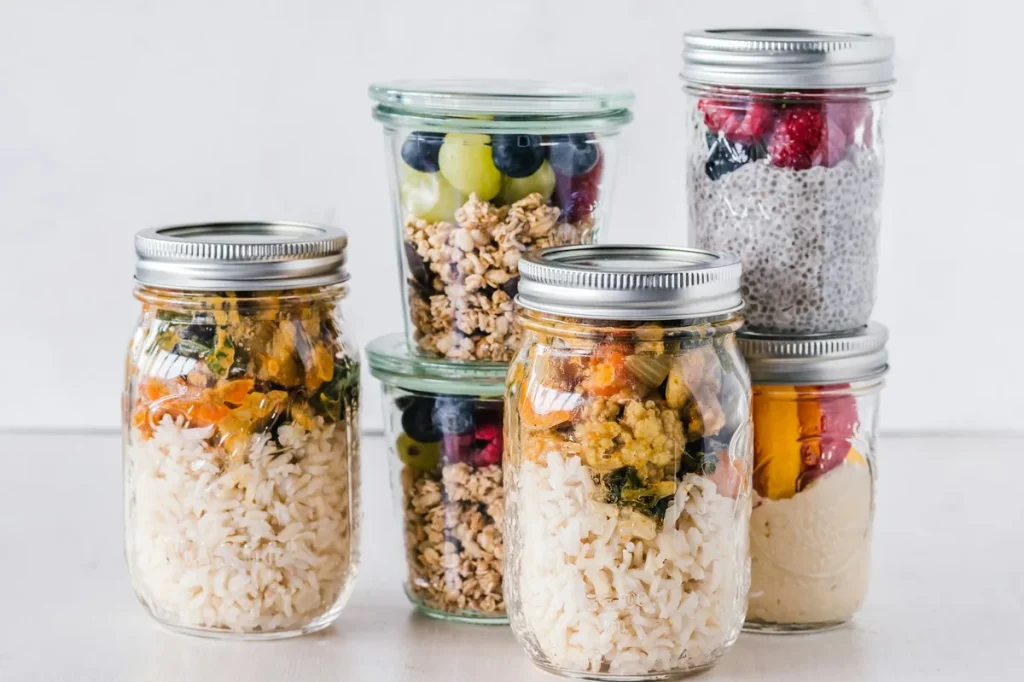
Glass containers
Glass storage containers are usually made of tempered soda-lime glass or borosilicate glass, with plastic or bamboo lids.
- Pros: They don’t absorb stains or odors from foods like tomato sauce, curry or garlic. You can see what’s inside. Most glass bases can go in the microwave, oven (without the lid) and dishwasher, but check the manufacturer’s instructions.
- Cons: Heavier to carry, and can break or chip if dropped.
- Thermal shock: Glass can crack with sudden temperature changes. Don’t move a container straight from the freezer to a hot oven, or pour boiling liquid into cold glass. Let it come closer to room temperature first.
- Lids: Most lids are plastic. Remove them before microwaving unless the instructions say otherwise, and replace them when the seals crack or warp.
Plastic containers
Plastic containers are light, inexpensive and hard to break, which is why so many kitchens have a cabinet full of them.
- Pros: Light for commuting, great for kids’ lunches, and good for freezing because they don’t shatter.
- Cons: They can stain, hold odors and scratch over time.
- Heating: Heat can cause some chemicals in plastics to migrate into food, and this is an area of ongoing research. A cautious approach many people follow is to reheat food in a glass or ceramic dish rather than in plastic, even if the container is labeled microwave-safe.
- “BPA-free”: This means the product isn’t made with bisphenol A. It doesn’t automatically tell you about every other substance in the plastic.
- When to replace: Retire plastic containers that are cracked, deeply scratched, cloudy or warped.
Stainless steel and silicone
- Stainless steel: Light, durable and stain-resistant, and good for salads, snacks and dry foods. It can’t go in the microwave, and you can’t see inside.
- Silicone: Flexible bags and containers are reusable, freezer-friendly and handy for portions. Look for food-grade silicone, and expect some to hold odors from oily foods.
Which to use for what
- Reheating lunches: Glass, so you can heat food in the same container.
- Soups and stews for the freezer: Freezer bags laid flat, silicone bags, or freezer-safe containers with headspace. Our freezer-friendly lentil soup is a good one to portion.
- Salads and cut vegetables: Glass or stainless steel lined with a paper towel. See our vegetable prep guide.
- Dressings and sauces: Small glass jars with tight lids.
- Snacks on the go: Light plastic or stainless steel boxes.
- Overnight oats: Glass jars, like the ones in our overnight oats recipe.
Features worth looking for
- Leak-resistant lids with a silicone gasket and locking clips, especially for soups and saucy foods.
- Stackable shapes that nest when empty and stack when full. Rectangular containers use fridge space better than round ones.
- A few sizes: roughly 1-cup for sauces and snacks, 2–4 cup for single meals, and larger for batch cooking.
- Compartments if you like keeping wet and dry foods apart.
- Matching lids across sizes. It saves a lot of searching.
- Clear care instructions for microwave, oven, freezer and dishwasher use.
Food safety reminders
- Cool hot food quickly, then refrigerate within two hours.
- Shallow containers cool faster than deep ones.
- Most cooked leftovers are best within three to four days in the fridge.
- Leave headspace for liquids in the freezer, because they expand.
- Label lids with the contents and date. Masking tape and a marker work well.
Building a starter set
You don’t need to replace everything at once. Start with five or six glass meal containers for lunches, a few small jars for dressings, and some freezer bags or silicone bags for soups. Add pieces as you notice gaps. If you’re meal-prepping for the week, our Sunday meal prep plan works nicely with about five containers.
Caring for your containers
- Wash containers soon after use so foods don’t stain or set.
- Remove odors from plastic with a baking soda paste or by leaving it in the sun to air out.
- Take silicone gaskets out of lids now and then to clean underneath.
- Dry lids fully before storing to prevent musty smells.
Glass vs. plastic at a glance
- Weight: Plastic is lighter; glass is heavier.
- Durability: Plastic resists breaking but scratches and stains; glass resists stains and scratches but can break.
- Heating: Glass is the more cautious choice for reheating; many people avoid heating food in plastic.
- Freezing: Both work. Leave headspace in glass and avoid sudden temperature changes.
- Cost: Plastic usually costs less upfront; glass tends to last longer.
- Odors and stains: Glass doesn’t absorb them; plastic often does.
Many households use both: glass for meals that get reheated, and light plastic or stainless steel for cold snacks and travel.
Finally, think about where you will eat. If you reheat lunch at work, a glass container you can microwave saves a dish. If you eat on the go, lighter containers and a leak-resistant lid matter more. Matching the container to the situation makes meal prep easier to stick with, week after week, and cuts down on single-use packaging too.
Frequently asked questions
Can glass go from the fridge to the oven?
Many glass containers are oven-safe, but avoid sudden temperature changes. Check the manufacturer’s guidance and let the dish warm up a bit first.
Is it safe to microwave plastic?
Some containers are labeled microwave-safe. Many people prefer to heat food in glass or ceramic as a precaution. Never microwave single-use containers or ones not labeled for it.
How long can I freeze meal-prepped food?
Many cooked dishes keep good quality for two to three months. Freezing keeps food safe longer, but texture and flavor slowly decline.
This guide is for general information and doesn’t endorse any brand. We don’t receive payment for products.
This article is for general information only and is not medical or nutrition advice. See our Disclaimer.
You might also like
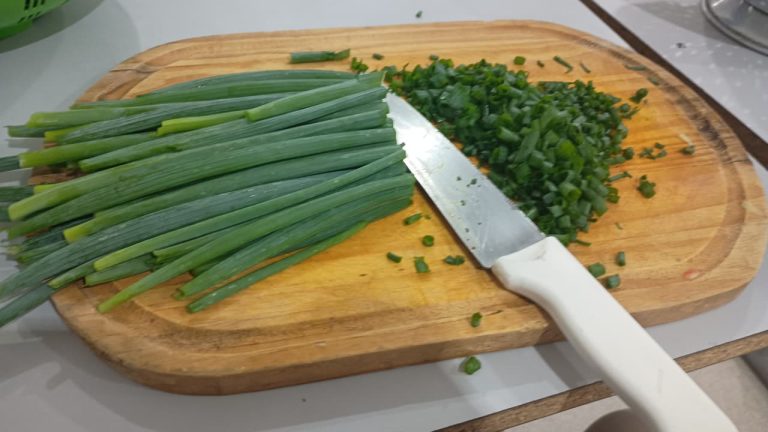 Kitchen BasicsBasic Knife Skills: How to Dice an Onion, Slice and Mince Safely
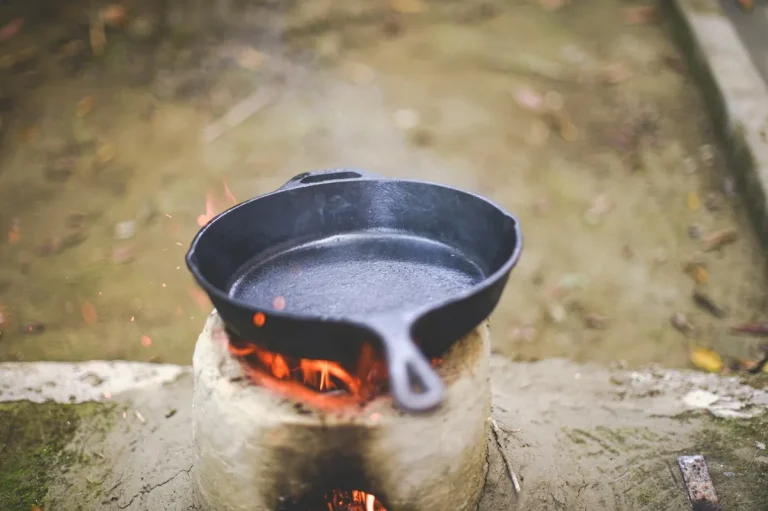 Non-Toxic KitchenHow to Care for Cast Iron: Seasoning, Cleaning and Fixing Rust
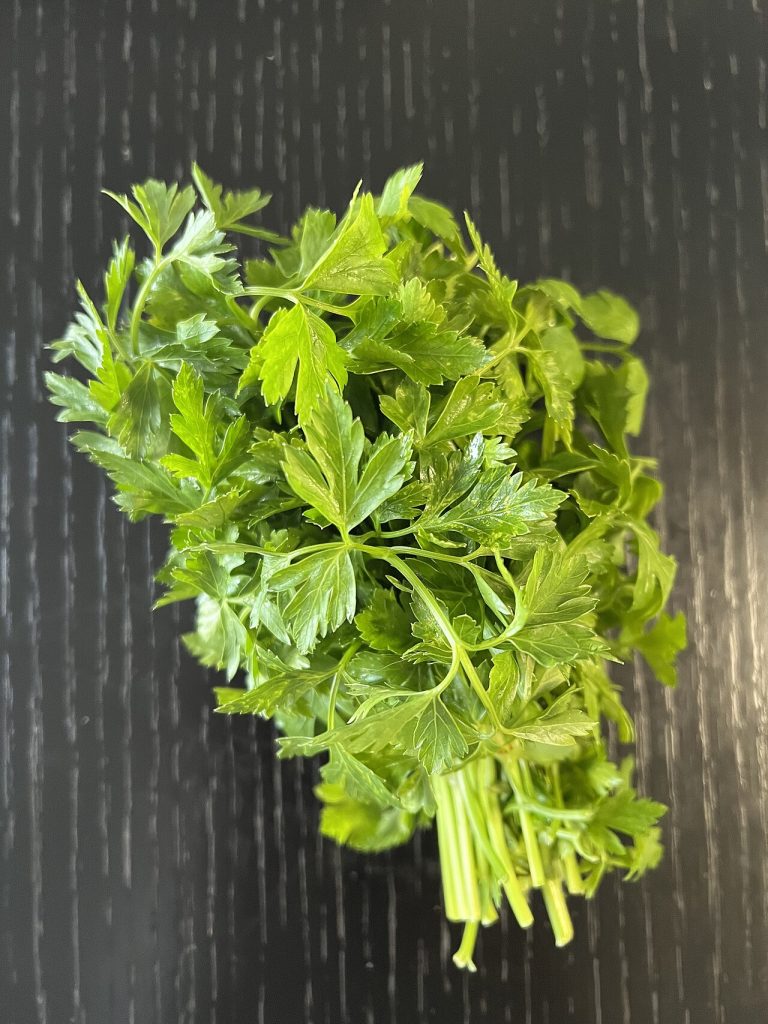 Kitchen BasicsHow to Store Fresh Herbs So They Last
 Non-Toxic KitchenHow to Choose Cookware: Stainless Steel, Cast Iron, Carbon Steel, Ceramic and PTFE