How to Store Fresh Herbs So They Last
Fresh herbs bring color and fragrance to almost any dish, but a bunch of parsley or cilantro can turn limp and slimy in the fridge within a few days. With the right storage method, most herbs keep for one to three weeks instead. The key is knowing which herbs are tender and which are hardy, because each group likes different conditions.
This guide explains how to wash and dry herbs, the best storage method for each type, and simple ways to preserve herbs you cannot use in time. The video shows the gentle washing and drying technique used for leafy greens, which works just as well for herbs.
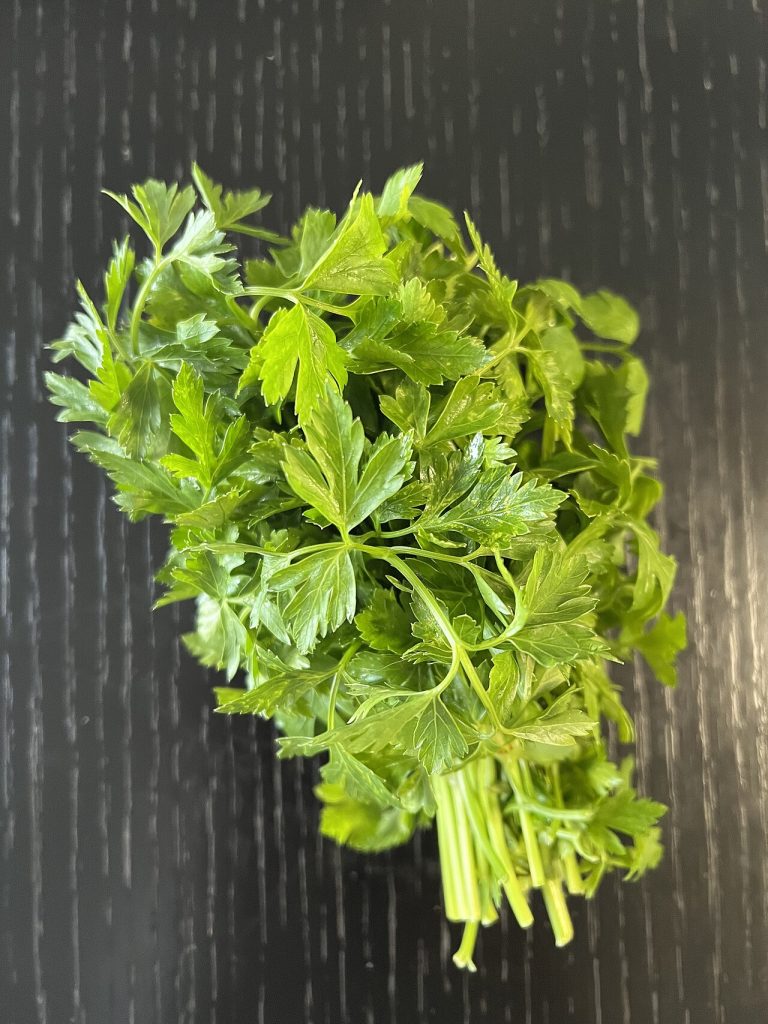
Tender herbs and hardy herbs
Tender herbs have soft stems and delicate leaves. They include parsley, cilantro, basil, mint, dill, chives and tarragon. They wilt quickly and do best with their stems in water, much like cut flowers.
Hardy herbs have woody stems and tougher leaves. Rosemary, thyme, sage, oregano and marjoram belong in this group. They contain less moisture and can rot if kept too wet, so they prefer to be wrapped loosely in a slightly damp paper towel.
Step 1: Wash and dry gently
Swish the herbs in a large bowl of cold water, lift them out and repeat if you see grit at the bottom. Spin them in a salad spinner or roll them loosely in a clean kitchen towel to remove as much water as possible. Extra moisture on the leaves is the main reason herbs turn slimy.
Some cooks prefer to wash herbs only right before using them. If you do wash them ahead, make sure they are completely dry before storing.
Step 2: The jar method for tender herbs
Trim the bottom of the stems, remove any yellow or damaged leaves, and stand the bunch in a jar with about an inch of water. Cover the leaves loosely with a plastic produce bag and keep the jar in the fridge. Change the water every two or three days. Parsley and cilantro treated this way can stay fresh for up to two weeks.
Basil is the exception. It is sensitive to cold and its leaves turn black in the fridge, so keep basil in a jar of water on the counter, out of direct sunlight, and use it within a few days.
Step 3: The towel method for hardy herbs
Wrap rosemary, thyme, sage and oregano loosely in a barely damp paper towel and place them in a zip-top bag or airtight container in the fridge. Leave the bag slightly open so moisture can escape. Hardy herbs kept this way usually last two to three weeks. Chives also do well with this method.
Freezing herbs in oil
To keep herbs for months, chop them and pack them into ice cube trays, filling each compartment about two-thirds full. Cover with olive oil or melted butter and freeze. Once solid, pop the cubes into a freezer bag. Drop a cube straight into soups, stews, sauces or a pan of sauteed vegetables. Frozen herbs lose their crisp texture, so use them in cooked dishes rather than as a garnish.
Drying hardy herbs
Woody herbs like rosemary, thyme and oregano dry beautifully. Tie small bunches with string and hang them upside down in a warm, dry place out of direct sunlight for one to two weeks, until the leaves crumble easily. Strip the leaves and store them in a jar. Dried herbs are more concentrated, so use about one teaspoon of dried for every tablespoon of fresh.
Ways to use up extra herbs
- Blend tender herbs into pesto, chimichurri or green sauce
- Stir chopped herbs into grain salads, omelets and scrambled eggs
- Mix them with soft butter to make herb butter for bread or vegetables
- Toss whole parsley, cilantro or dill leaves into green salads
- Steep mint or lemon balm in hot water for a fresh herbal drink
- Add parsley and cilantro stems to stocks and soups for extra flavor
Signs herbs have gone bad
Discard herbs that are slimy, black, or smell musty. Slight wilting is not a problem, though. Soak limp herbs in ice water for 10 to 15 minutes and they often perk up enough to use.
Buy only as many herbs as you can use within a week or two, store them by type, and keep a tray of herb cubes in the freezer for the rest. With these habits, very little of each bunch ends up wasted.
This guide is general kitchen information, not food-safety certification or medical advice. See our Disclaimer and Image Credits.