How to Cook Fluffy Rice on the Stovetop (White and Brown)
You do not need a rice cooker for good rice. A heavy saucepan with a tight-fitting lid, the right amount of water and a few minutes of patience at the end will give you separate, fluffy grains every time.
The method below is the absorption method: the rice simmers in a measured amount of water until it is all absorbed. It works for most long-grain white rice such as jasmine and basmati, and for brown rice with a longer time and more water.
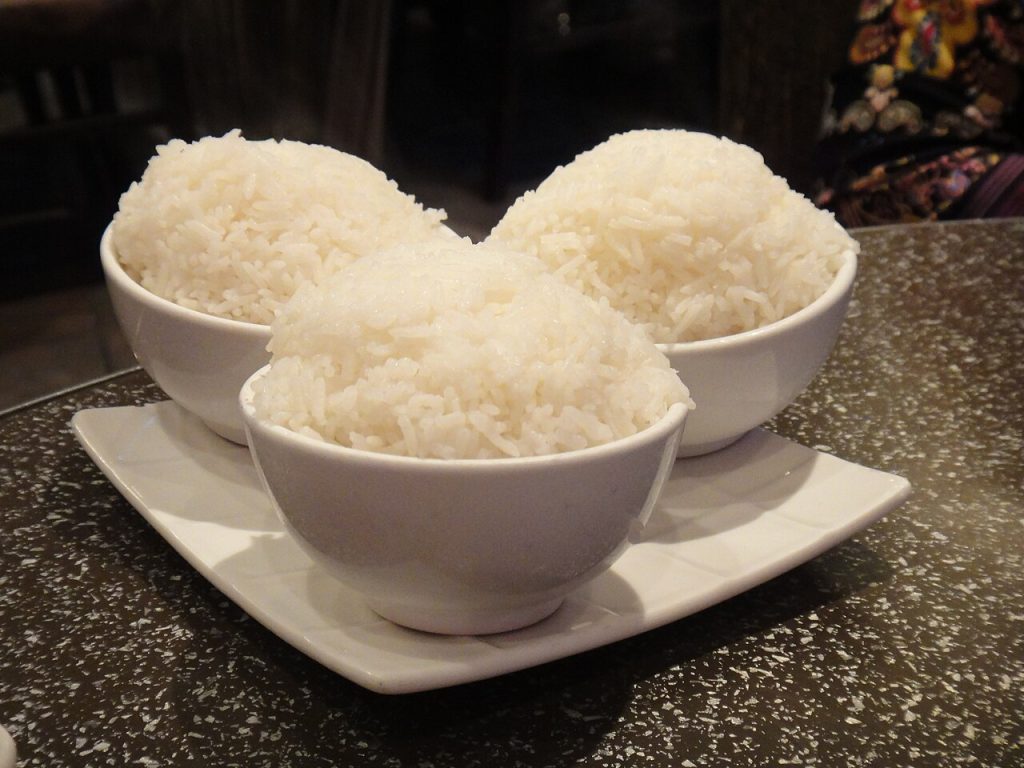
Rinse the rice
Put the rice in a fine sieve or bowl and rinse it under cold water, swirling with your hand, until the water runs mostly clear. This washes off loose surface starch that would otherwise make the rice gummy. It takes about a minute.
Skip rinsing for risotto and other dishes where you want a creamy texture. Some enriched rice packages also advise against rinsing, so check the label.
Use the right ratio
- Long-grain white rice: 1 cup rice to 1 1/2 cups water.
- Jasmine rice: 1 cup rice to 1 1/4 cups water.
- Basmati rice: 1 cup rice to 1 1/2 cups water.
- Long-grain brown rice: 1 cup rice to 2 cups water.
Add about 1/2 teaspoon of salt per cup of rice, and a teaspoon of butter or oil if you like. One cup of uncooked rice makes about three cups cooked, enough for three to four side servings.
Ratios vary a little between brands and with the age of the rice. If your first batch is slightly wet or firm, adjust by a tablespoon or two next time.
Simmer, covered, without peeking
Bring the water and salt to a boil, stir in the rinsed rice, and return to a boil. Turn the heat down to the lowest setting, cover tightly and set a timer: about 15 minutes for white rice, 40 to 45 minutes for brown.
Resist lifting the lid. The steam trapped inside is doing much of the cooking, and letting it out can leave the top layer underdone.
Rest, then fluff
When the time is up, take the pan off the heat and leave it covered for 10 minutes. During this rest, the moisture redistributes so the grains at the bottom are not wet and those on top are not hard.
Then fluff the rice gently with a fork, lifting rather than stirring, to separate the grains without crushing them.
Troubleshooting
- Burnt bottom: the heat was too high. Use the smallest burner on its lowest setting, or a heavier pan.
- Still crunchy: sprinkle over 2 to 3 tablespoons of hot water, cover and cook on low for 5 more minutes.
- Mushy or sticky: too much water or too much stirring. Spread it on a tray to steam off, and use it for fried rice the next day.
Storing and reheating rice safely
Cooked rice should not sit at room temperature for long, because spores of a bacterium called Bacillus cereus can survive cooking and multiply in warm rice. Food-safety agencies advise cooling leftover rice quickly and refrigerating it within about an hour or two, then eating it within a few days.
For meal prep, spread hot rice on a tray to cool fast, then pack it into shallow containers. Reheat until steaming hot throughout, adding a splash of water and covering to keep it moist. Cooked rice also freezes well for up to a month in flat bags.
Making it more flavorful
Plain rice is meant to be a neutral backdrop, but small changes make it more interesting. Toast the rinsed and drained rice in a teaspoon of oil or butter for a minute or two before adding the water, which gives it a nutty aroma. Cook it in broth instead of water. Add a bay leaf, a few cardamom pods or a strip of lemon zest to the pot, or stir in chopped herbs and a squeeze of lime after fluffing.
With this method you can make rice for bowls, curries and stir-fries whenever you need it. Our burrito bowls and vegetable fried rice are good places to use a batch.
This guide is general kitchen information, not food-safety certification or medical advice. See our Disclaimer and Image Credits.