Baked Apples with Oat Crumble
Baked apples are one of the simplest fall desserts: hollow out whole apples, fill them with an oat, nut and cinnamon crumble, and bake until the fruit is tender and the topping is crisp. The kitchen smells wonderful the whole time.
Choose firm baking apples that hold their shape. Softer eating apples can collapse in the oven, which tastes fine but looks less tidy.
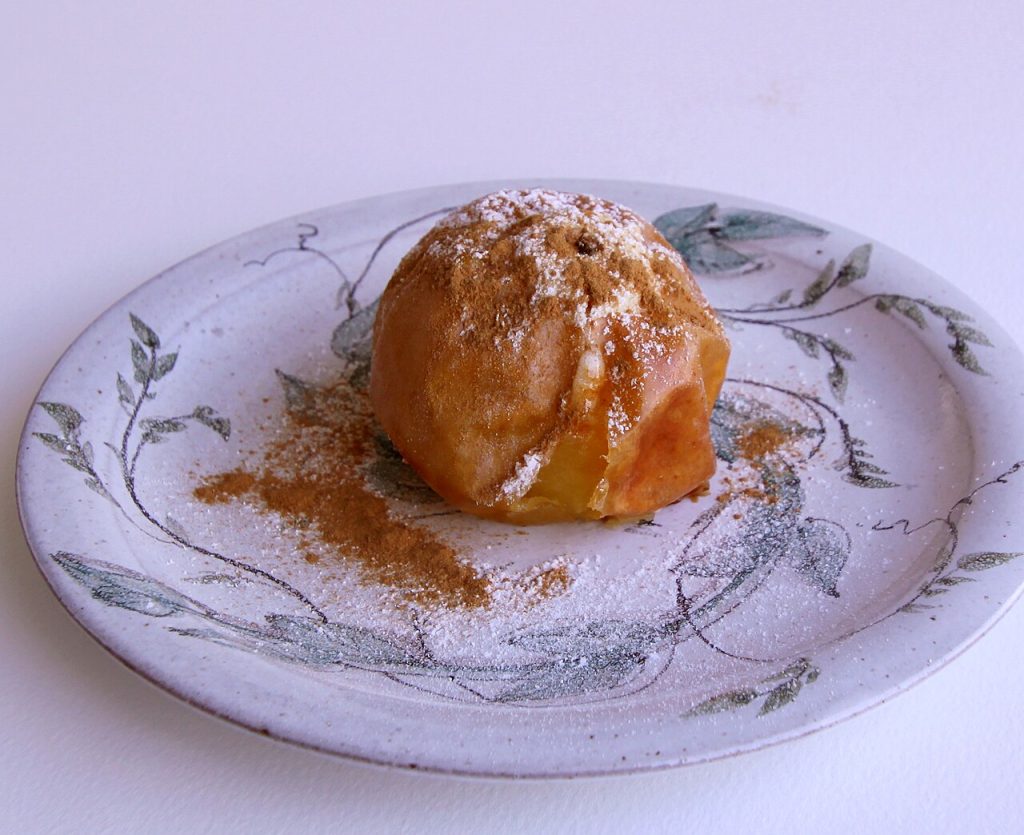
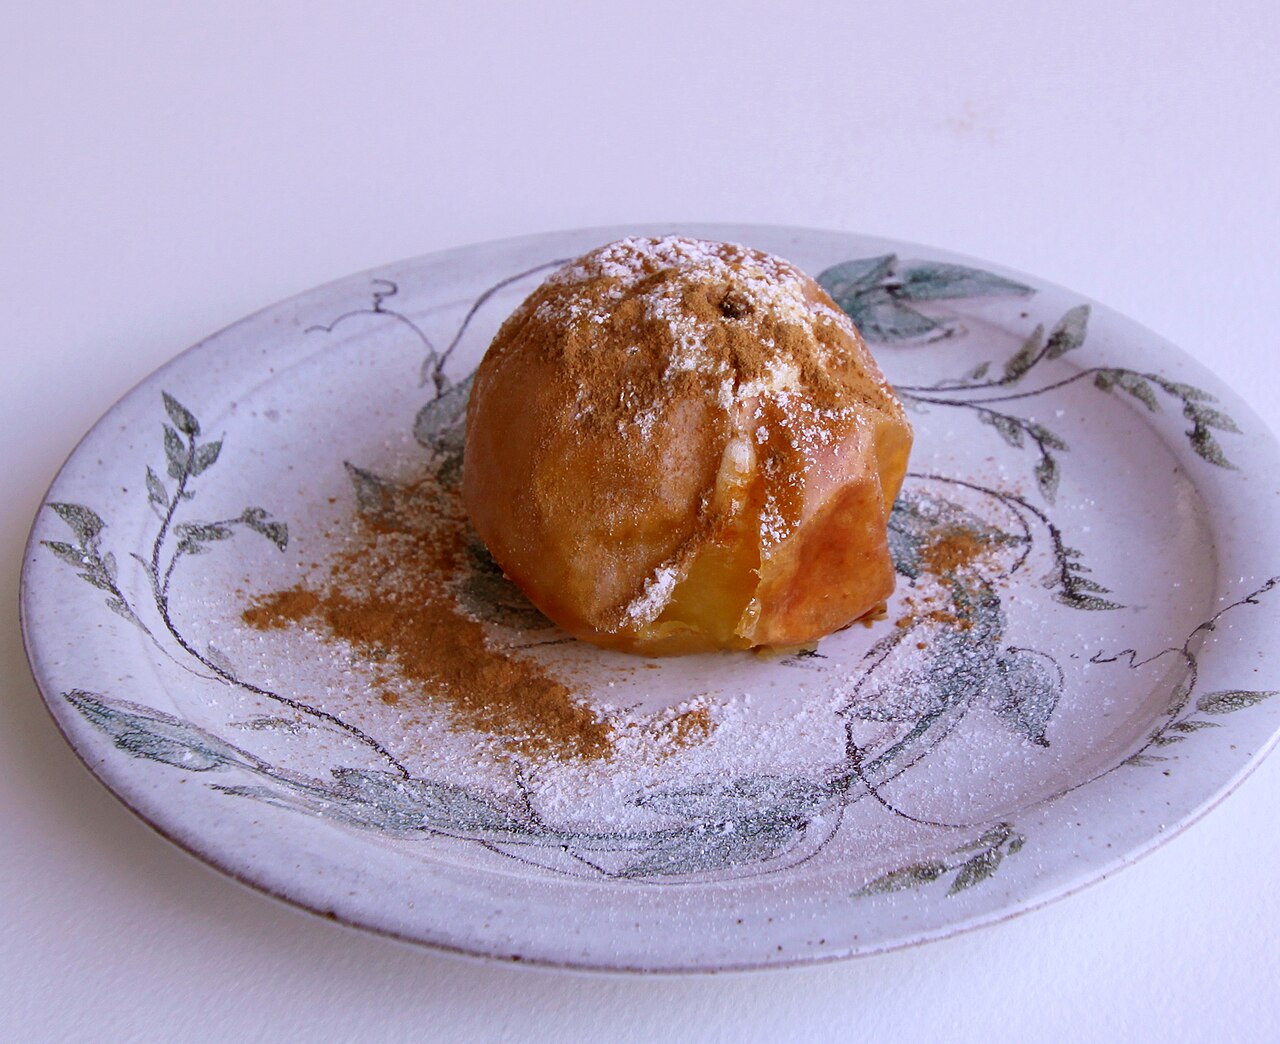
Baked Apples with Oat Crumble
Ingredients
Method
- Heat the oven to 375°F (190°C).
- Using a melon baller or small spoon, core the apples from the top, leaving the bottom 1/2 inch intact so the filling stays in. Make the opening about 1 1/2 inches wide.
- Mix the oats, nuts, sugar, cinnamon, nutmeg and salt in a bowl. Add the butter and rub it in with your fingertips until the mixture clumps.
- Stand the apples in a small baking dish and pack the filling into the cavities, mounding the extra on top.
- Pour the water or cider into the dish. Bake for 35–45 minutes, until a knife slides easily into the apples and the topping is golden. If the topping browns too fast, cover loosely with foil.
- Let cool for 10 minutes, then serve with some of the pan juices spooned over and a spoonful of yogurt or ice cream.
Notes
- Run a peeler around the top inch of each apple to stop the skin from splitting.
- Bake times depend on the variety and size, so start testing at 30 minutes.
Choosing apples
Firm, tart-sweet varieties give the best balance with a sweet filling. Apples are in season from late summer through fall, and many store well into winter. Try a couple of varieties from your local market to find your favorite.
Using the pan juices
As the apples bake, their juices mix with the cider and butter in the bottom of the dish to make a light syrup. Spoon it over the apples once or twice during baking to keep them glossy, and pour the rest over each serving. If you want a thicker sauce, pour the juices into a small saucepan after baking and simmer for 3–4 minutes until syrupy.
Variations and swaps
- Use firm pears instead of apples; reduce the baking time slightly.
- Add a tablespoon of raisins or chopped dates to the filling.
- Use coconut oil for a vegan version and serve with coconut yogurt.
Storing and reheating
Refrigerate leftover baked apples, covered, for up to 4 days. Rewarm in a 350°F (175°C) oven for 10–15 minutes or briefly in the microwave. They are also good cold with yogurt for breakfast.
Questions readers ask
What if I don't have a corer?
A melon baller, a small spoon or a paring knife all work; just take care not to cut through the bottom.
Can I make them ahead?
Yes. Bake them up to 2 days ahead and reheat before serving.
This recipe is for general cooking information only and is not medical or nutrition advice. See our Disclaimer and Image Credits.